
The beginning
A “sleeper rig” is the nickname given to a computer that has new parts but is designed to look old. When Jarrad needed a new computer and a nearly 20 year old computer that no longer worked came in at the same time, we knew it was our turn to make something unique. Before we could even begin working on our new project, we needed to give it a clean!
Modification Begins
Next we needed to remove the ancient parts from this old beast, removed the hard drive cages held in with screws for better access to the front panel and gave the insides a bit of spring cleaning. The remaining hard drive cage at the front of the case is held in place with pop rivets, it was time to bring out the Dremmel.
Modification Get Trickier Than First Thought....
To fit a watercooler to the front of our new computer we had to cut out the front panel and replace it with something else, we salvaged a piece of metal from another similarly aged case and cut it to size and shape to be mounted in the front of the new case. The watercooler was mounted by drilling holes into the sheet of metal and attaching the radiator block as usual.
Did we say Trickier Than First Thought..?
New holes were drilled near the edge of the metal sheet to mount to the front of the case and larger rectangle holes were cut to allow the front panel to attach to the rest of the case properly. Lengths of irrigation tubing were then cut to fit the cable routing hole we created and will later be attached to the case. Masking tape and newspaper was then applied to the openings on the case to prevent the spray paint from escaping or bleeding out from the case.
Lets Get Our Colour on.... or Just Black
Now it’s time for a fresh coat of paint! After the final coat had finished drying we glued the irrigation tubing onto the cable routing hole to prevent the cables being damaged by the sharp edges.
The Fun Beings - Assembly
Its finally time to start assembling the new computer, step one, mounting the watercooler and re-attaching the front panel. Then the power supply, motherboard, Ram, CPU, and finally installing the graphics card. Then, the most exciting part, Cable management!... (Cough). We wrapped the front panel connection cables in black electrical tape to hide the bright colours.
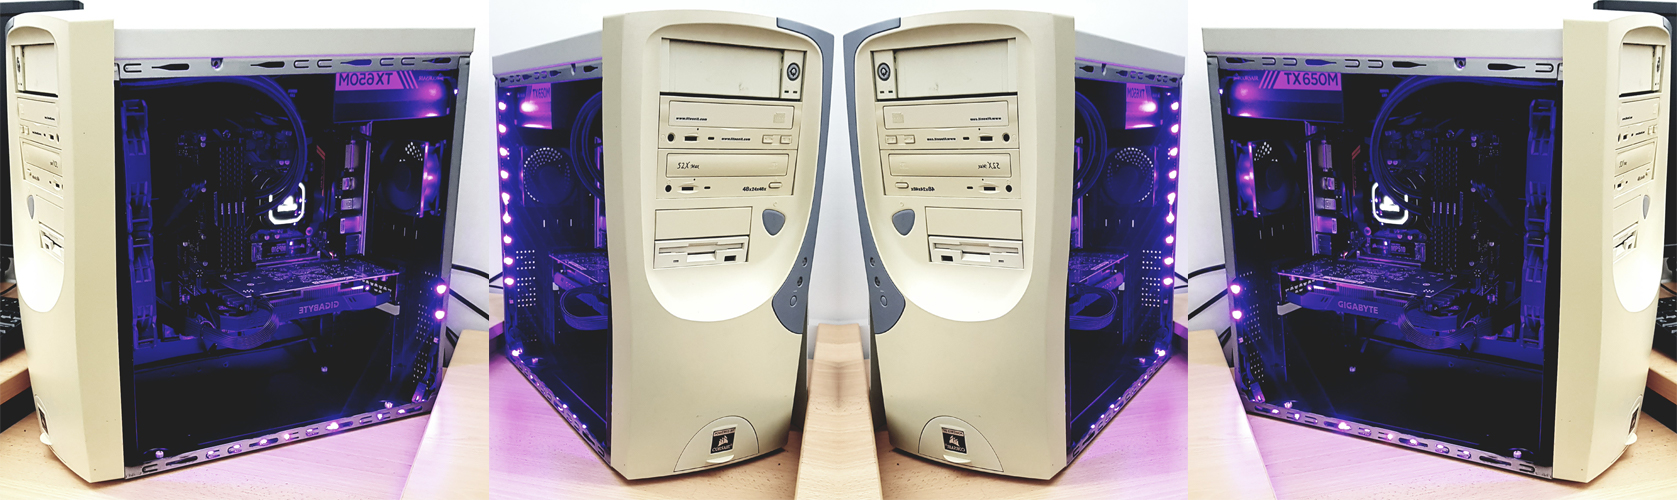
The final Product
Final specs for this ‘old’ beast: Corsair 650w Power Supply, B360M Aorus gaming motherboard, 32GB Corsair Vengeance Ram, i5-8400 CPU, Corsair 480GB M.2 SSD and an Nvidia GTX 1650
Should have just scrolled to the bottom!
Click play and see the montage we put together of the whole build!